The Beginner's Guide to Building a Custom PC
Learn how to plan, pick parts, assemble, and test your first custom PC—covering budgets, compatibility, tools, safety, and performance tips.
Start Here: Building a custom PC is a rewarding way to get exactly the performance, features, and aesthetics you want while learning how modern hardware fits together. Instead of settling for a one size machine, you control choices like thermals, acoustics, upgradability, and even lighting. This guide walks you through planning, selecting parts, and assembling with confidence. Start by defining your goals: gaming at a given resolution and refresh rate, creative workloads like video editing, or a quiet everyday workstation. Set expectations for time and patience; careful work avoids headaches later. Keep notes on requirements such as storage capacity, number of USB ports, and Wi Fi needs. Prioritize compatibility and safety: a comfortable, well lit workspace, anti static habits, and a methodical checklist. Read manuals before starting, because board layouts and connector locations vary. Most of all, aim for a balanced system where no single part creates a bottleneck, and remember that good planning saves money and stress.
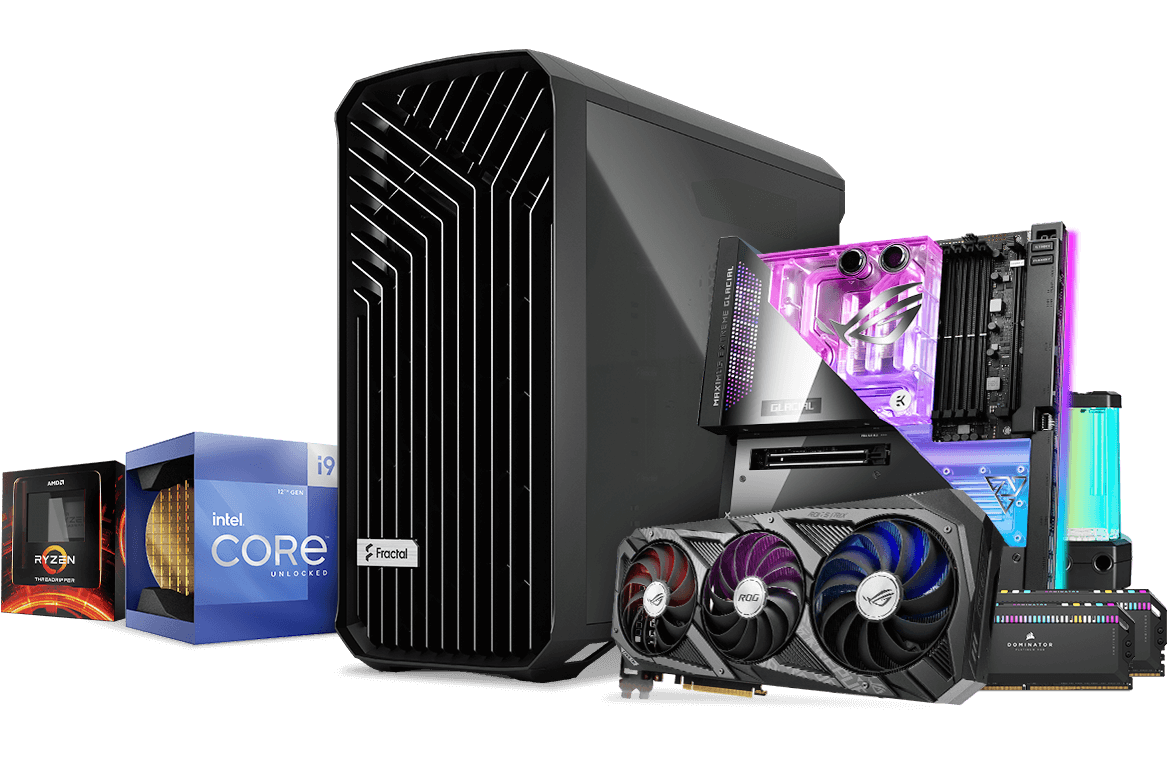
Core Parts: Every build revolves around a few key components that must work in harmony. The CPU handles general computation, while the GPU accelerates graphics and many parallel tasks. The motherboard provides the electrical backbone, housing the chipset, VRM, and slots for RAM and storage. Memory affects responsiveness and multitasking; check capacity and speed support. Storage comes as NVMe and SATA drives, trading cost, speed, and capacity. A reliable PSU powers everything; quality and sufficient wattage with headroom are essential. The case shapes airflow, noise, and build difficulty, while cooling solutions, from air towers to liquid loops, manage temperatures. Peripherals such as monitor, keyboard, and mouse influence your daily experience. The art is balancing parts for your workload, like matching a strong GPU with a capable CPU to avoid bottlenecks, and choosing cooling and a case that maintain comfortable temps without excessive noise.
Budget and Compatibility: Begin by allocating your budget across the CPU, GPU, motherboard, RAM, storage, PSU, and case, then adjust for your priorities. Gamers often emphasize GPU, while creators may value CPU cores, memory, and fast storage. Compatibility is non negotiable: confirm socket and chipset support for the CPU, memory type and speeds the board accepts, and whether a firmware update might be required before first boot. Check form factor fitment such as ATX, Micro ATX, or Mini ITX, plus clearance for GPU length and cooler height. Verify storage layout and PCIe lanes for NVMe drives and expansion cards. Estimate wattage with some headroom for future upgrades, and ensure the PSU has the right connectors. Mind airflow paths and fan support in your case. On the features side, list required ports, networking options, and audio needs. Finally, align your build with the monitor resolution and refresh rate you plan to use, since that drives GPU selection.
Tools and Prep: A smooth build starts with a clean workspace, a stable table, and good lighting. Gather a magnetic Phillips screwdriver, zip ties or Velcro straps, side cutters, thermal paste if your cooler lacks it, and a small tray for screws. Prevent static damage with ESD precautions: touch grounded metal or use a wrist strap. Before opening boxes, skim the manuals for your motherboard and case to learn header locations, standoff patterns, and fan support. Plan cable management routes using case grommets and tie down points. Prepare a bootable installer on a USB drive for your operating system and keep another USB with drivers if possible. Take inventory of screws, I O shield or preinstalled backplate, and included brackets. If you are nervous, do a quick test layout on the table to visualize where each cable will run. Labeling cables, like front panel connectors and fan leads, can save time later when space gets tight.
Board Assembly: Start on a non conductive surface with the motherboard out of the case. Carefully seat the CPU by aligning the marking triangle and lowering the retention arm without force. Apply a pea sized dot of thermal paste to the CPU, then mount the cooler per its manual, securing the backplate and tightening screws in a cross pattern. Install RAM in the recommended slots for dual channel, pressing until the latches click. Add M.2 NVMe drives, removing heatsink covers if present, inserting at an angle, and securing with the standoff screw before replacing any heatsink. Inspect for plastic films you must peel from heatsink surfaces. If your case uses a separate I O shield, snap it into the case now to avoid forgetting later. Double check that cooler fans are oriented to push air toward your case exhaust path. This pre assembly reduces awkward steps inside the case and helps you verify parts are seated correctly before wiring.
Case Integration: Install the standoffs in the case to match your board size, then place the motherboard gently, lining up the I O and screw holes before tightening screws snugly, not overly tight. Mount the PSU with its fan oriented toward available ventilation, ideally drawing fresh air from below if your case has a filter. Connect the 24 pin and CPU EPS power cables, plus any PCIe power the GPU will need. Seat the GPU in the top full speed slot, secure it with case screws, and add its power leads. Wire front panel headers for power switch, reset, and LEDs, along with USB and HD audio connectors per the manual. Attach fans to appropriate headers or a hub, aligning for intake at the front or bottom and exhaust at the rear or top. Aim for slightly positive pressure to reduce dust. Route cables behind the motherboard tray, using tie points to keep airflow clear. Perform a quick power on test to confirm fans spin and lights indicate POST.
First Boot and Beyond: Enter the UEFI BIOS to confirm component detection, set memory profile like XMP or EXPO, adjust boot order, and update firmware if advised by the vendor. Configure fan curves so the system remains quiet at idle and responsive under load. Install the operating system, then chipset, networking, audio, and GPU drivers. Run a brief stress test and use monitoring tools to check temperatures, voltages, and clock speeds. If you encounter instability, reseat cables, verify RAM slots, and ensure the CPU cooler is mounted evenly. Tidy remaining cables and replace side panels, watching for clearance on tall coolers or thick GPU power leads. For longevity, create a backup plan, keep dust filters clean, and revisit fan curves seasonally. When ready to upgrade, reassess wattage headroom, available PCIe slots, and storage lanes. With a methodical approach, your custom PC will deliver dependable performance and an easy path to future enhancements.